Photography, Tutorials, Video Hani Amir Photography, Tutorials, Video Hani Amir

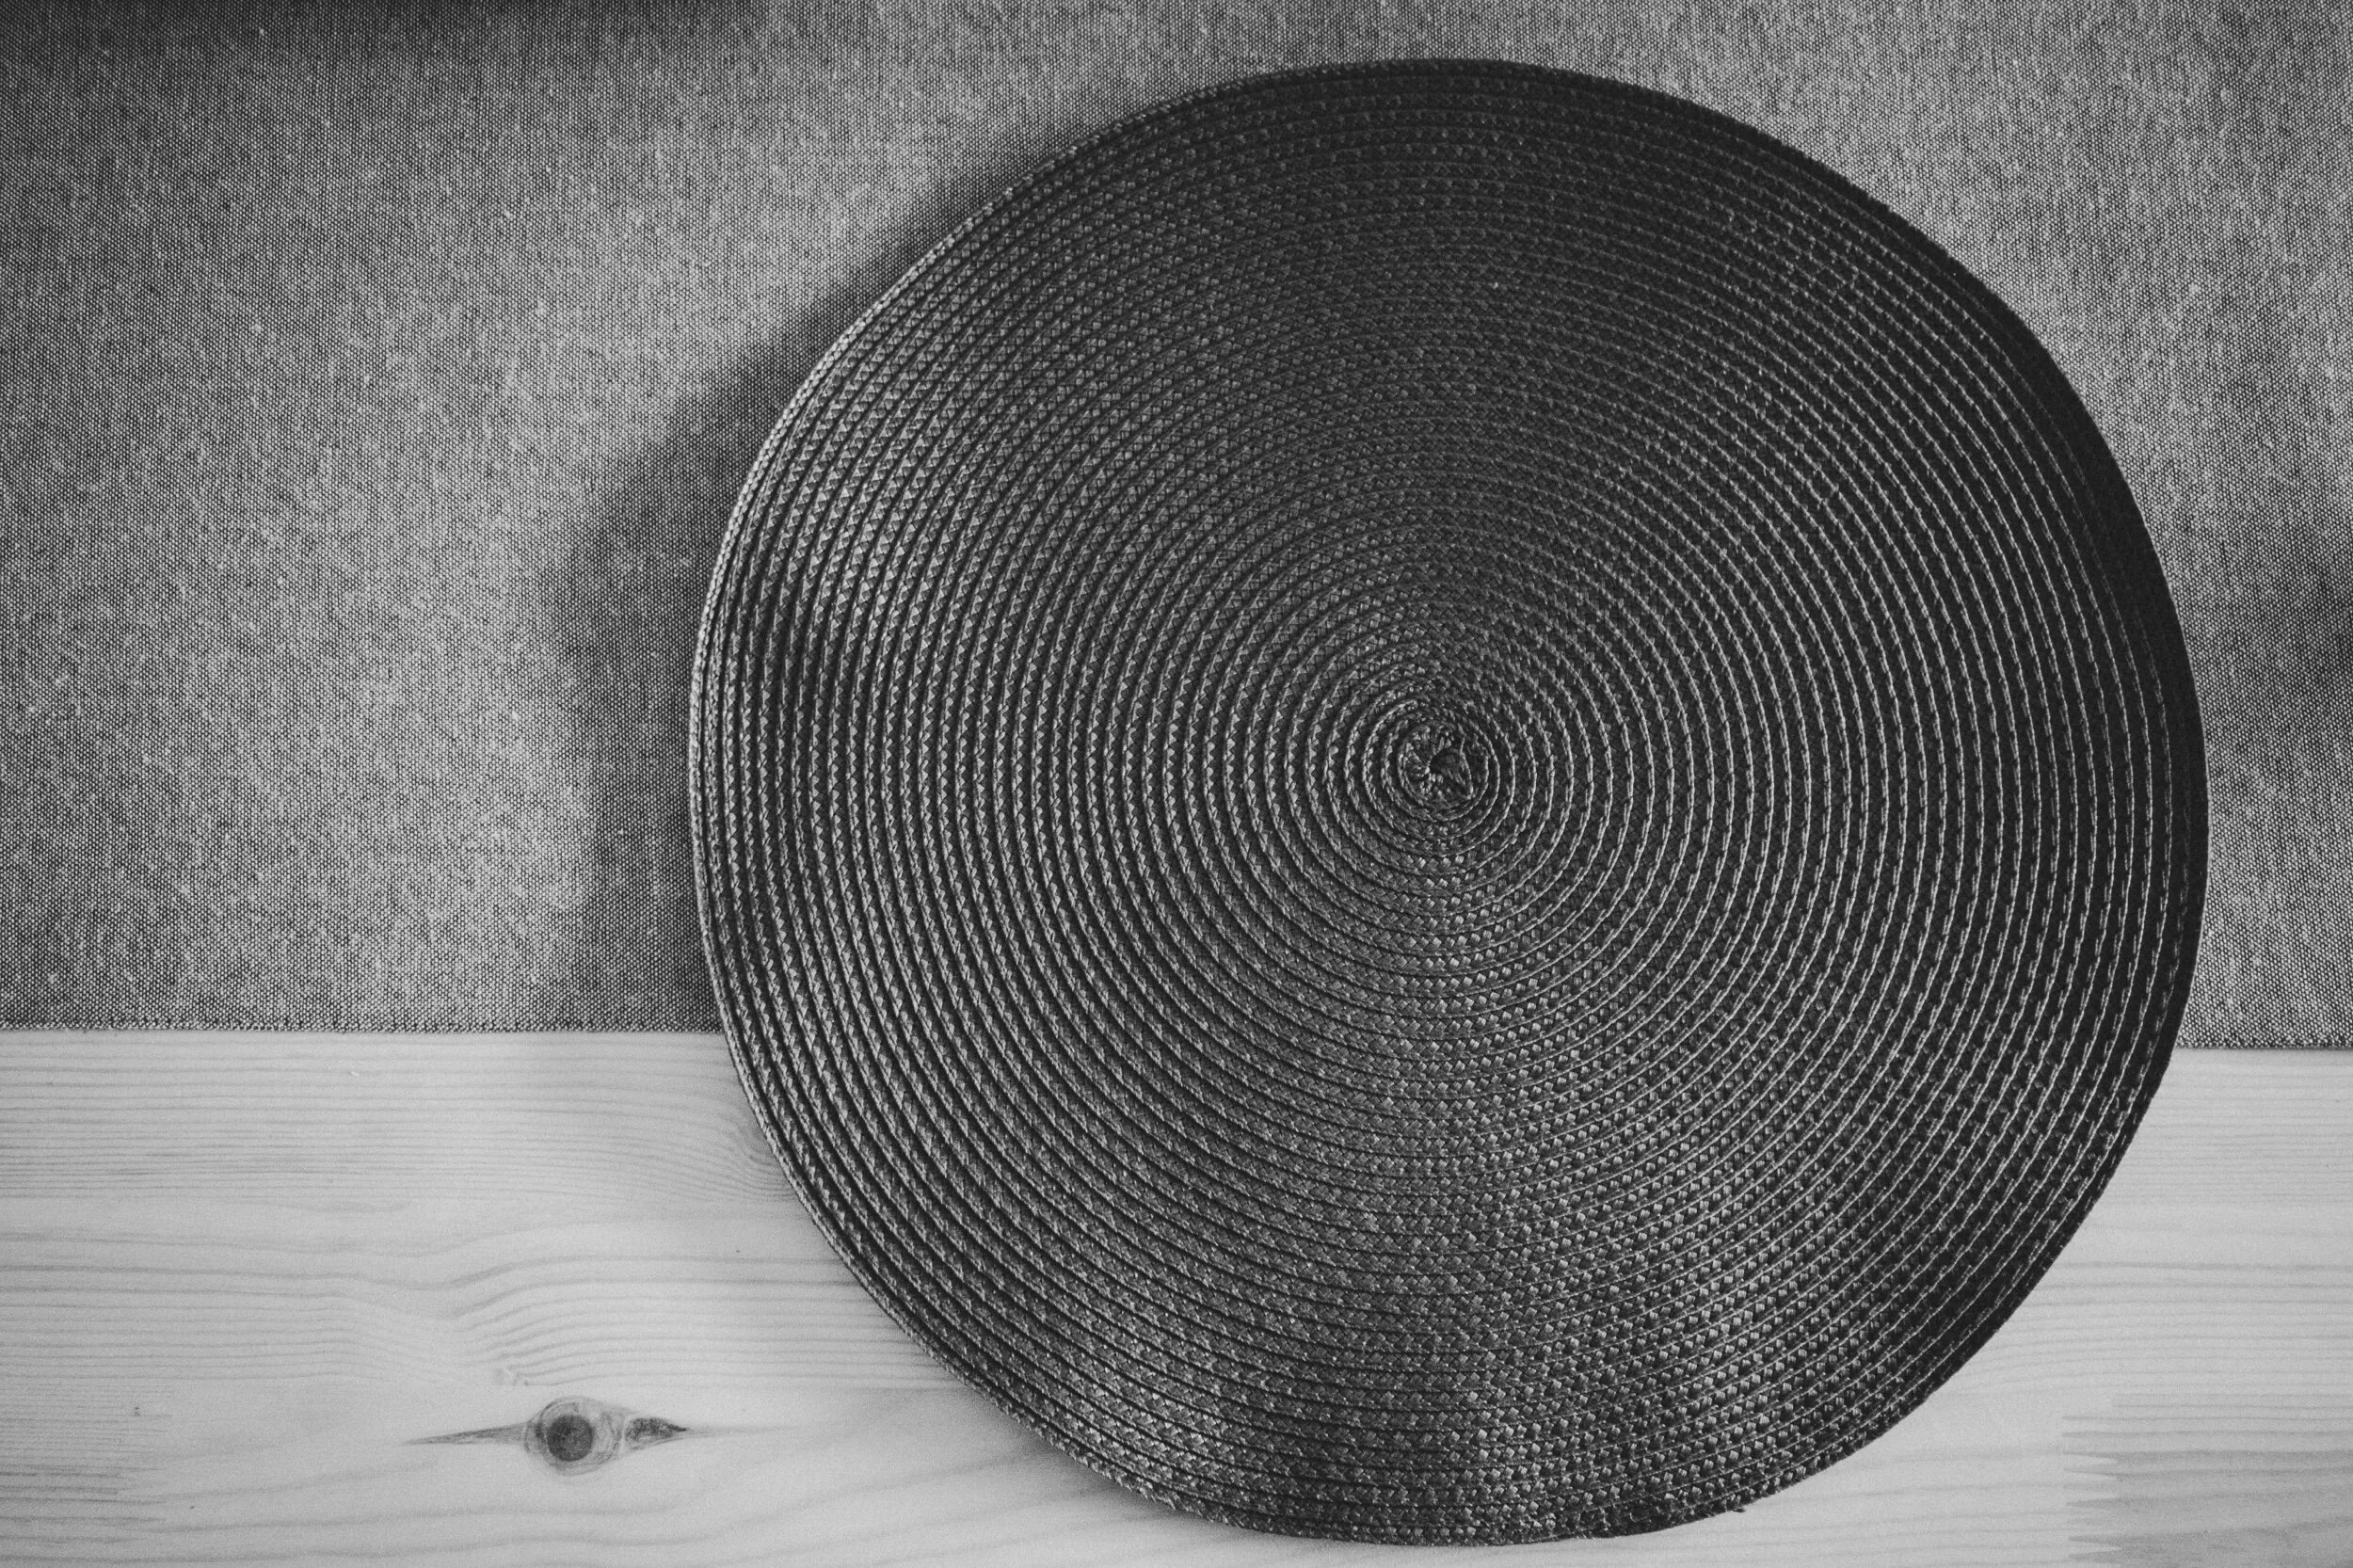
Burakashi’s #StayAtHome Photo Class - Lesson 01: Monochrome Patterns and Textures

LESSON OBJECTIVE: 

To produce a monochrome photograph of a subject from around your home.

If you would like, email me your final images at burakashi[@]icloud.com, along with image credit / social media tags, and I will post it under the page for this lesson on my website. Hope you had fun and do let me know if you have any feedback on how I can improve future lessons. 


Read More
Game Dev, Tutorials, Video Games Hani Amir Game Dev, Tutorials, Video Games Hani Amir

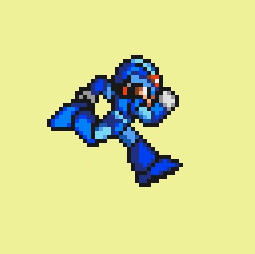
Pixel Art Animation basics - 5 classic side scrolling walking / running animations from the SNES era

I'm in the process of learning how to animate my pixel art and decided to have a look at some of the classics.

I'm in the process of learning how to animate my pixel art and decided to have a look at some of the classics. I extracted these animations using ZSNES and turning off all the layers except the sprite layer (by pressing numbers 1-5 on the keyboard) and recording it at 60fps using OBS. i then imported the resulting video file into Adobe Photoshop CC and trimmed it until I ended up with a loop. I then exported this as a gif. Below each gif I have included a spritesheet of the individual frames as these are helpful in seeing how each animation actually works. Pay attention to how long each individual frame is used to create different sets of movements. I hope this is helpful for other people learning to do the same. This is for educational use only and all copyright belongs to Nintendo and the respective developers of each game. 

01. Super Mario World

Frames: 12
Sets: 2

Nintendos work on this is a thing of minimalistic genius. Pretty much just 2 stills that last 6 seconds each create one of the most iconic running animations the world has ever seen. 

02. Contra III

Frames: 48
Sets: 6

This animation uses 6 sets of "legs", with each spanning 8 frames of animation. The legs for each set does not change. It is interesting how it still produces the illusion of smooth motion. Note the subtle kickback animation on his upper body from the gun shots. 

03. Megaman X3

Frames: 26
Sets: 10

This is one of my favourite pixel art animations of all time. I love the clean lines and dynamic movement. It really doesn't get much better than this. 

04. Earthworm Jim 

Frames: 48
Sets: 14

This animation has the same amount of frames as the example from Contra III but is much more complex. It covneys the "squishiness" of the character quite well. 

05. Aladdin 

Frames: 38
Sets: 12

Another complex animation. Disney has done great work capturing the essence of the animated film in such a low resolution. Note how Aladdin's hair is synced to the point where he switches legs. 


Read More
Tutorials Hani Amir Tutorials Hani Amir

Make glitch art by data bending an image as audio using Adobe Audition - A Simple Guide

This tutorial will teach you how to data bend an image as audio data using Adobe Audition. The will allow you to add effects that are normally used for audio, such as echo and chorus etc, to an image. It will also allow you to "listen" to the raw data from the image. 

The process basically goes image data -> audio data -> back to image data

Note: These steps should also work with Audacity, a great free alternative. 

Untitled Data Bend #01

An image I created using the techniques described below. The source is a photograph I took of some fishermen from Baa Atoll, Maldives. 

Databending (or data bending) is the process of manipulating information from within a media file of a certain format, using software designed to edit files of another format. Distortions in the medium typically occur as a result, and the process either falls under a broader category of, or is frequently employed in glitch art. - via Wikipedia


This tutorial will teach you how to data bend an image as audio data using Adobe Audition. The will allow you to add effects that are normally used for audio, such as echo and chorus etc, to an image. It will also allow you to "listen" to the raw data from the image. 

The process basically goes image data -> audio data -> back to image data

Note: These steps should also work with Audacity, a great free alternative. 

Step 00 - Make a duplicate of the target image

Make a copy of the image.

This is very important as the process of data bending will destroy the image. So unless you want to make some kind of statement about the temporary nature of digital art or something fancy like that I'd highly recommend making a duplicate. 

Step 01 - Convert to a format that is data bending friendly

Convert the image to TIFF using photoshop. Alternatively you can convert it to a BMP. A JPEG will not work!

  • Open the image in Photoshop 

  • Go to File -> Save As
  • Select TIFF from the available formats and click save. I am not sure about the importance of the other settings, but make sure to leave the image compression as "None". 
  • Alternatively if you don't have Photoshop, you can use a built in program such as MSpaint to save the image to a BMP. The TIFF option will not work that well as it is not lossless. Give it a try anyways to see for yourself, this is all about experimentation after all. 

Step 02 - Import the image into Audition as Raw Data

Make another copy of the image and Import the file into Audition as Raw Data

  • Go to File -> Import -> Raw Data 

  • You can experiment with these settings, but for the sake of the tutorial let's set the sample rate to 48000, the channel to 1, the encoding to μ-law and leave the byte order on default. 
  • Great job! Now you can see the image as wav form. Have a listen to it! Spooky huh! You could use the noises for all sorts of samples for music and other projects. 

Advertisement


Step 03 - Manipulate the Image as AUDIO

Now to have some fun and manipulate the audio using different effects. It's important to not mess with the audio in the very first seconds as this contains the header data that. If this bit is corrupted the image may not display properly at all. 

  • Let's see what an echo effect looks like. To begin, I have highlighted the section of the image that I want to manipulate.

  • Go to Effects - Delay and Echo -> Echo. You can then set up the effect or use a preset. For this tutorial I've selected the "Spooky" preset. You can combine effects, delete bits, reverse audio, the possibilities are endless. Do your adjustments and click apply. 

Step 04 - Save the IMage

Save the image by going to File -> Save or hitting ctrl+s. Alternatively you can use Save As, but there is no need as this is a copy of the image. It's easier to just use Save and make another copy in explorer of the original rather than using Save As every single time. Although you can also utilize successive edits of the same image to create frame by frame animations; for example by slowly increasing an effect or by repeatedly applying the same effect over and over again (making sure to save each successive edit as a separate file). 

You're pretty much done! Have a look at the image you just created. The one I used now looks like this: 

Some more examples of different preset effects: 

Chorus (Waverly Sing-along preset)

Analog Delay (Dub Delay preset)

Flanger (Too Many Pills preset)

Hope this tutorial has been helpful! Don't be afraid to experiment and do show me what you come up with. 

Read More
Photography, Tutorials, Downloads Hani Amir Photography, Tutorials, Downloads Hani Amir

Operating photographic equipment manually - Part 1 - The Photographic Triangle


The photographic triangle can be used to interpret the light meter reading in order to achieve your desired exposure.


Download PDF
Read More